The Edit window is to create and draft a temporal draft training field. The training field itself is not changed as long as the drafting is not completed.
Buttons, lists and textboxes in the window are operated by the left button of pointing device such as mouse.
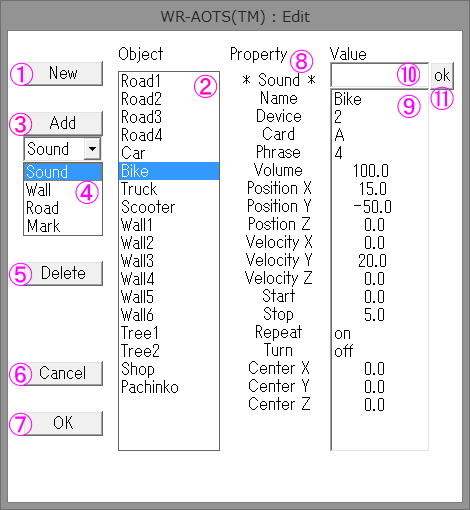
Button to fix the edited content in the Property value edit textbox. If the other property value is selected without pushing this button, the results of edit in the Property value edit textbox is withdrawn.
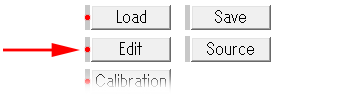
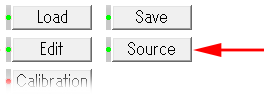
This section explains how to create a new training field. Please push the Edit button and open the Edit window first.
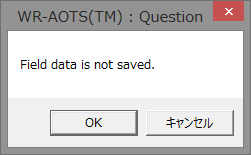
* When the Edit window opens, if there is unsaved training field, the question window Field data is not saved. will open. If you want to save it, please push Cancel button and save it. If you want to withdraw it without saving, please push OK button.
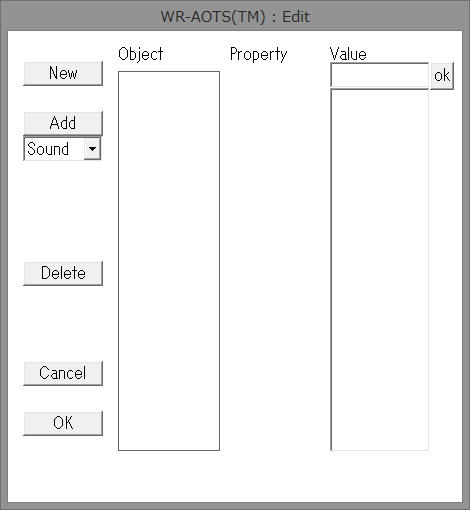
* If there is no objects in the Object list on the Edit window, the draft training field has no objects. If there is some objects, please push the New button to delete them.
Please select a kind of object to be added from the Kind list. There is four kinds of objects; Sound, Wall, Road and Mark.
Sound
Object to generate sound. This kind of object can make various sounds. They also can move straight in constant velocity, or turn 90 deg around a certain point.
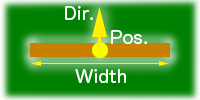
Wall
Object to reflect and insulate sounds.
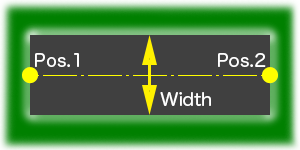
Road
Object to be used for designing the training field. This kind of object do not influence on the sound propagation.
Mark
Object to be used for designing the training field. This kind of object do not influence on the sound propagation.
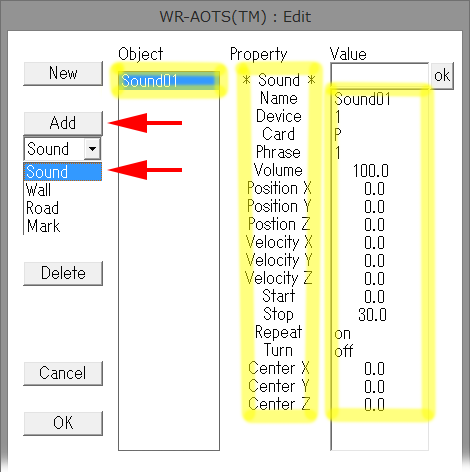
Explanation here is supposed that Sound is selected. Please push the Add button after you selected Sound in the Kind list. Some strings will appear on the empty Object list, Property list and the Property value list.
Sound01 appeared in the Object list is the newly added object. The Property list shows the properties of Sound. The Property value list contains the default values of each properties.
Sound, Wall, Road and Mark has the following properties.
Sound
Name
Name of this Object
Device, Card and Phrase
Properties to assign a kind of Sound. Device is a serial number of the Sound, and it is assigned automatically when the Sound is added. For use of Card and Phrase, please refer to Sound data management.
Volume
Volume of the the Sound in % (percent). Maximum value is 100, and Minimum value is 0. If the value is 0, sound is not emitted.
Velocity vector of the Sound. If it is zero vector, the Sound is still. Otherwise, the Sound moves. To set the components (X, Y, Z), please refer to Coordinates of training field.
Start, Stop and Repeat
Properties concerning reproduction of the Sound. Start is always 0. Stop is duration of the Sound in s. If Repeat is on, when the Sound reproduction is finished, it will return to the starting point (its position will also return to the initial position). Otherwise, Sound will finish and disappear after reproduced once.
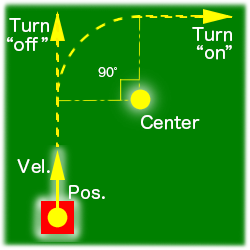
Turn, Center (X, Y, Z)
Properties concerning turn of the Sound. If Turn is on, The Sound turns 90 deg horizontally (automatically decelerates before turning, accelerates after turning, and finally moves straight by the same speed) around Center position. If it is off, the Sound keeps moving straight without turning. To set the coordinates (X, Y, Z) of the Center, please refer to Coordinates of training field. Z is always 0.
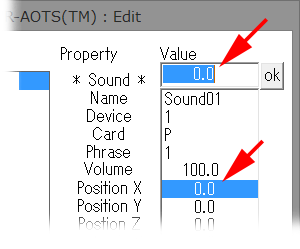
Here, the method to set the Property Position X of the Object Sound01 is explained as an example. Please click the Property value 0.0 of the Property Position X in the Property value list. The Property value 0.0 of the Property Position X will be selected, and the Property value 0.0 will also appear in the Property value edit textbox.
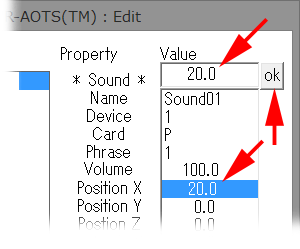
Let's change the value of the Property value edit textbox. Here the values is replaced with 20 as an example. Please input 20 from keyboard. The value of the Property value edit textbox will be overwritten and will change from 0.0 to 20. After this, please push the Property value edit complete button. The Property value of Position X in the Property value list will change to 20.0.
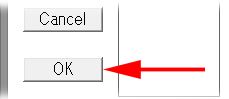
Please push the OK button. The Edit window will close. The draft training field will be overwritten on the training field, and new creation of training field is completed.
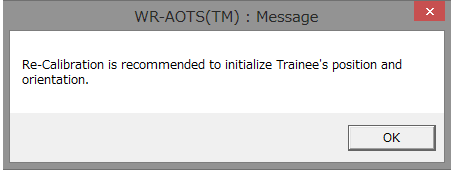
* When the OK button is pushed, if re-calibration is recommended in advance to the next run, the message window that recommends re-calibration will open. Please push OK button to close the message window. As the recommendation, please re-calibrate before the next run.
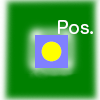
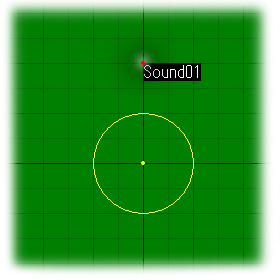
Please make sure that the training field that you created is displayed on the monitor correctly. In this example, the Sound Sound01 is located at 20 m south from the origin.
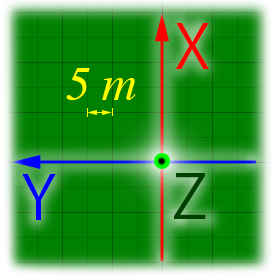
In the coordinates of the training field, the head center position of the Trainee in the training field at the calibration is an origin, the axis toward south (upper direction on the monitor) is a X-axis, the axis toward east (left direction on the monitor) is a Y-axis, and the axis toward upper (rising direction from the monitor) is a Z-axis.
Values of X, Y and Z are expressed in m for position, and in m/s for velocity vector.
* The coordinates value Z is measured from the head height of the Trainee in the training field. Please note that Z is not a height from the ground. Z = 0 means that it is the same height as the head, and not as the ground.
* The Property that has only X and Y (cannot be set Z value) is the Property that can be set only the horizontal position of south-north and east-west (the height cannot be set).
* The scale of the grid on the training field monitor is 5 m/div
This section explains how to edit the existing training field. If any training field is already loaded, or any edited and created training field is there, you can open the Edit window to edit it by pushing the Edit button.
* If the training field is not saved yet, the question window Field data is not saved. will open. If you want to save it, please push Cancel button and save it. If you want to chage it without saving, please push OK button.
Please select the object that you want to delete from the Object list, and push the Delete button. Please be careful that the deleted object cannot be revived.
It is basically the same as the method to set property value in Method to create. Please select the object to which you want to set property value from the Object list, and set each property values in the Property value list.
It is basically the same as the method to complete edit value in Method to create. If you push the OK button, the draft training field will be reflected. If you push the Cancel button, the draft training field will be withdrawn, and the training field will not be changed.
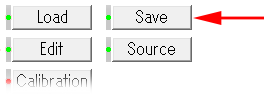
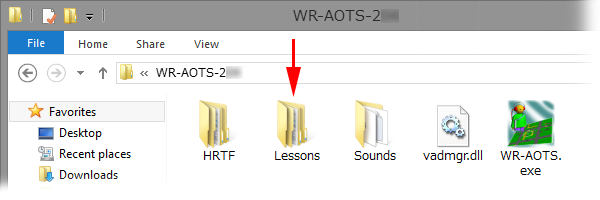
If you want to save the training field data, please push the Save button on the Main window, or if the question window Field data is not saved. opens, please push the Cancel button. The Save window will open and you can save the training field data.
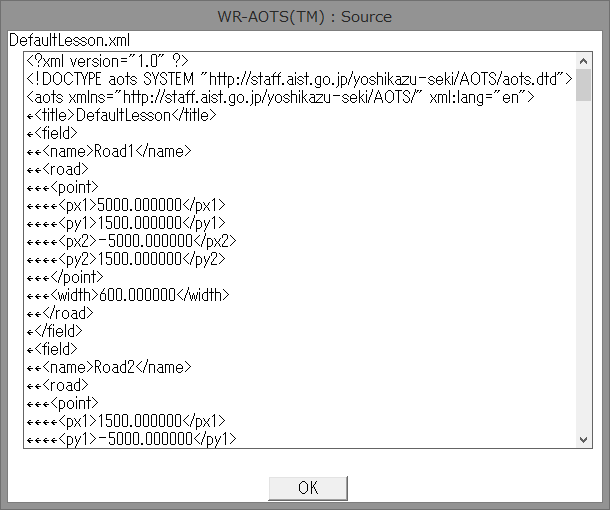
The training field data is XML format. Its file extension is .xml.
* The part that is obtained by excepting the extension from the training field file name that is set when it is saved will be the training field name.
The upper limit numbers of the objects are 90 for Sound and 100 for others. The actual number of available Sound is depending on the throughput of your computer, and in some case you can not add so many Sounds because of poor throughput. You are recommended to make sure that your Sounds work well without intermit when you designed the training field.
If you put Walls facing each other in parallel, please put them at least 4 m apart because of the limitation of reflected sound processing.
When you set the turn of the Sound, please take care that, if the Center of the turn is located at the position where the Sound cannot turn around, the Sound will move straight without turning even if the Turn is set as on.