If you want to use GPS, it must be connected to your computer in advance to start WR-AOTS™ Ver. 2.07 application software.
Generally, the USB-connectable and NMEA-formatted GPS can be used. In order to connect GPS to your computer, please follow the instruction on the manual of GPS.
If the settings are required at/after connection, please set as the follows:
Serial communication
Bit rate 4,800
Data bit 8
Parity none
Stop bit 1
Handshake none
Sampling 1 Hz
Sentence GGA
Please make sure that your GPS can measure the position by the testing software attached to GPS.
* In order to measure the position, the radio waves from at least 4 Satellites are required to be received. Thus it can be used only in the outdoor where sky can be looked over.
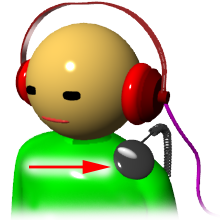
This section explains how to mount GPS on the trainee.
GPS is used to measure the trainee's head position with respect to the ground. However, it is not used to measure the head orientation. Thus, it is not needed to be mounted on the trainee's head. It can be mounted on the near place from head (e.g. on the shoulder).
* If you use Wii® Remote Plus Controller™ as well, it also must be calibrated. The procedure of Wii® Remote Plus Controller™ calibration is almost the same as GPS. Please refer to How to calibrate Wii® Remote Plus Controller™.
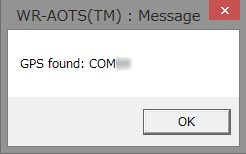
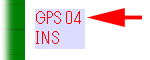
Confirm connection by GPS Message window.
Please start WR-AOTS™ Ver. 2.07 after GPS is connected to your computer. When you start the application, you will find that a message window of GPS that says GPS found: COM** (** is tow-digits number). Please push OK button.
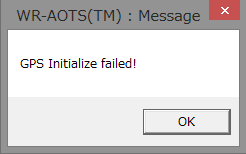
If the massage says GPS Initialize failed!, the application cannot use GPS . In this case, please push OK button and also Quit button to quit the application.
Make trainee stand still at the ready to start training.
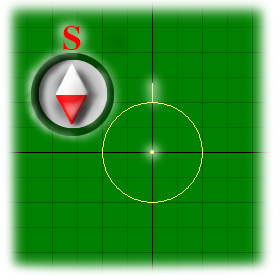
Please make the trainee stand still at the ready to start the training. The position and orientation of the trainee's head in this time will be the initial position (i.e. the origin of the training field).
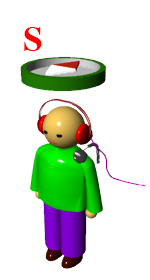
The Trainee in the training field is supposed to face south direction as an initial orientation. In calibration, the trainee must face south as accurate as possible by measuring the orientation with compass.
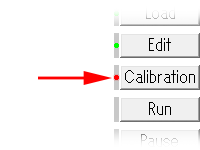
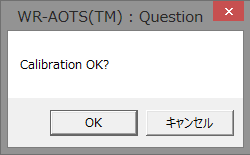
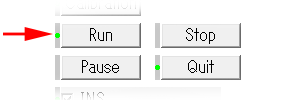
If you are ready, please push Calibration button. The question window to ask Calibration OK? will open. Please push OK button to start the calibration. It takes about 2 s to calibrate. Please do not move GPS during the calibration.
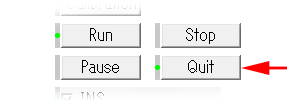
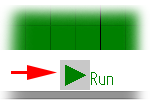
In order to navigate the Trainee in the training field, operations are available when the status is Run (the Run button was pushed and the Action indicator shows Run). The GPS navigation includes Parallel movement only.
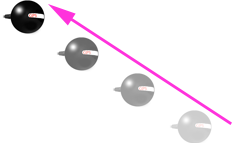
When the Stable operation mode is unavailable and GPS indicator shows red (i.e. 4 and more Satellites can be received and positioning is available), if GPS moves, the Trainee in the training field moves as same direction and distance as the movement of GPS. In this case, the directions of the head and the movement are not needed to be the same (i.e. walking sideway or diagonally is available)
* Even if the receivable Satellites are 4 and more, when the positioning error is too large, GPS indicator does not show red.
* The motion of the Trainee in the training field may be different from the actual motion of GPS because of the measurement error included in results of the acceleration sensor in GPS. In this case, you are recommended to turn on the Stable operation mode, and not to use GPS.