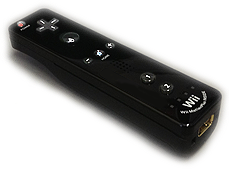
If you want to use Wii® Remote Plus Controller™, it must be connected to your computer in advance to start WR-AOTS™ Ver. 2.07 application software.
This section explains how to connect Wii® Remote Plus Controller™ and your computer via Bluetooth by the recommended Bluetooth adapter control software as an example. Please prepare Wii® Remote Plus Controller™ with batteries.
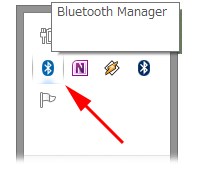
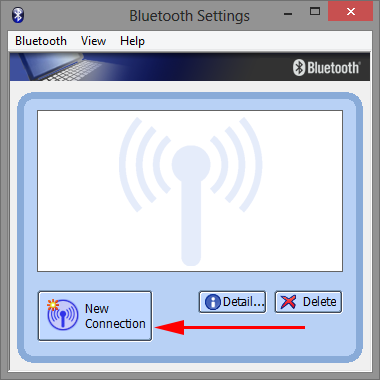
Please double-click the Bluetooth icon (Bluetooth Mabager will appear when cursor is on it) in the Notification icons in the Task bar of Windows desktop, and start the Bluetooth Settings.
Make your computer recognize Wii® Remote Plus Controller™.
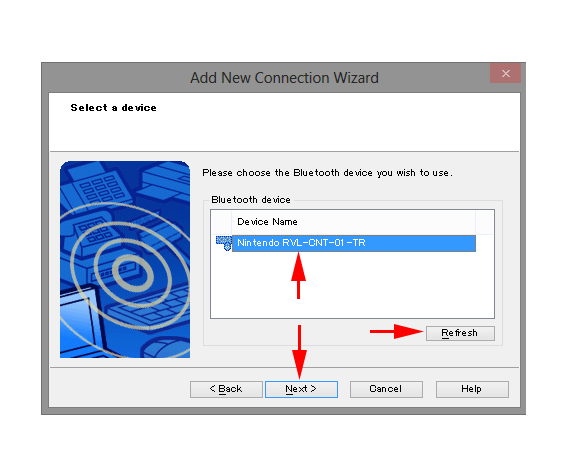
When you push the Next button, the status changes to Select a device and your computer starts to search connectable Bluetooth devices. Please push the small red SYNC button on the back of Wii® Remote Plus Controller™ (you can use tip of ballpoint pen to push the very small button). If you find Nintendo RVL-CNT-01-TR on display, please push the Next button (if you cannot find it, please push the Refresh button).
Search services mode opens and the Wizard will close automatically.
When you push the Next button, the message Please wait while wizard searches for remote device services. is displayed on the window, and the Wizard window will close automatically. If the window will not close, please try pushing Wii® Remote Plus Controller™ buttons. If the window does not close yet, please push the Cancel button on the window to retry the procedure.
Connection completeness displayed on Bluetooth Settings window.
When the Add New Connection Wizard window closes automatically, the Bluetooth Settings window returns. Please find the Nintendo RVL-CNT-01-TR icon standing for Wii® Remote Plus Controller™, and the symbol of green and light green chain at the icon. The chain stands for successful connection between your computer and Wii® Remote Plus Controller™ via Bluetooth.
(Additional procedure) Connect in second time and after.
If it is not the first time to connect, you can find the icon Nintendo RVL-CNT-01-TR is still on the Bluetooth Settings window. Please double-click it. When the window Prepare to connect to the remote HID device, then click OK. opens, please push OK button after pushing SYNC button on the back of Wii® Remote Plus Controller™.
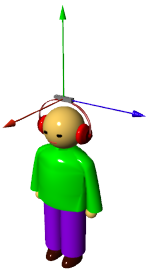
This section explains how to mount Wii® Remote Plus Controller™ on the trainee.
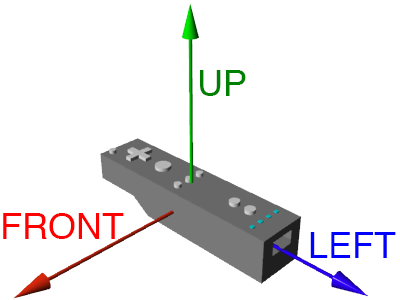
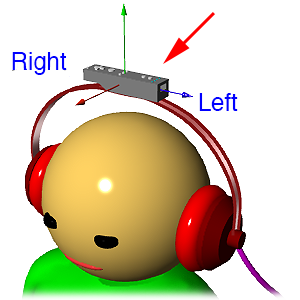
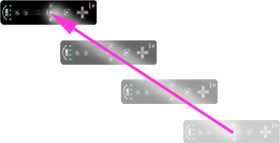
Please mount Wii® Remote Plus Controller™ on the trainee's head so that its main button side is upper, left side is front and socket side is left.
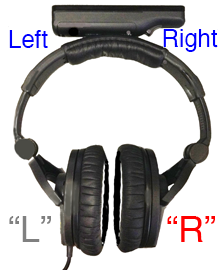
If you mount Wii® Remote Plus Controller™ on headphones, it can be fixed on top of the head band with belt or strong double-sided tape. Please make sure that its right-left orientation is correct.
* On the use of Wii® Remote Plus Controller™ in WR-AOTS™ Ver. 2.07, the Cross button is right, and the battery box or Wii logo is left. Please note that it is opposite orientation to the use of it as game controller.
The built-in sensors of Wii® Remote Plus Controller™ must be calibrated in advance to run.
* If you use GPS as well, it also must be calibrated. The procedure of GPS calibration is almost the same as Wii® Remote Plus Controller™. Please refer to How to calibrate GPS.
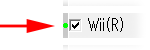
Check Wii checkbox.
Please start WR-AOTS™ Ver. 2.07 after Wii® Remote Plus Controller™ is connected to your computer, and make sure that Wii checkbox is checked.
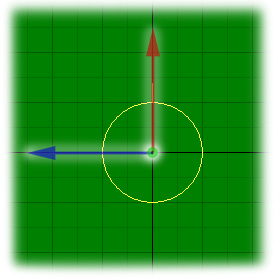
Make trainee stand still at the ready to start training.
Please make the trainee stand still at the ready to start the training. The position and orientation of the trainee's head in this time will be the initial position (i.e. the origin of the training field) and the south direction (i.e. upper side of the training field).
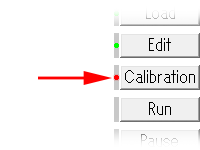
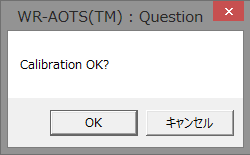
If you are ready, please push Calibration button. The question window to ask Calibration OK? will open. Please push OK button to start the calibration. It takes about 2 s to calibrate. Please do not move Wii® Remote Plus Controller™ during the calibration.
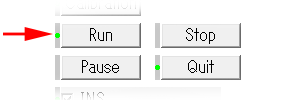
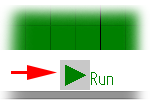
In order to navigate the Trainee in the training field, operations are available when the status is Run (the Run button was pushed and the Action indicator shows Run). The Wii® Remote Plus Controller™ navigation includes Parallel movement, Rotation, Break and Home.
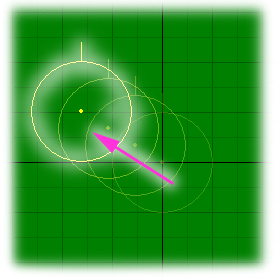
When the Stable operation mode is unavailable, if Wii® Remote Plus Controller™ moves, the Trainee in the training field moves as same direction and distance as the movement of Wii® Remote Plus Controller™. In this case, the directions of the head and the movement are not needed to be the same (i.e. walking sideway or diagonally is available)
* The motion of the Trainee in the training field may be different from the actual motion of Wii® Remote Plus Controller™ because of the measurement error included in results of the acceleration sensor in Wii® Remote Plus Controller™. In this case, you are recommended to turn on the Stable operation mode, and substitute the following navigations explained below.
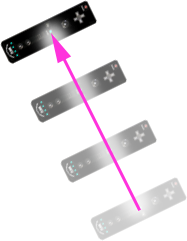
When the Stable operation mode is available, if Wii® Remote Plus Controller™ moves forward, the Trainee in the training field moves forward to the direction of the head at a velocity of 1.5 m/s. If the movement stops, the Trainee also stops.
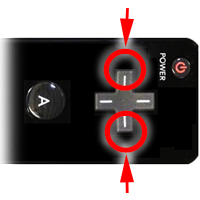
The Cross button on Wii® Remote Plus Controller™ also can be used to move in parallel. If the Left button (i.e. the front button for head) is pushed, the Trainee in the training field moves forward to the direction of the head at a velocity of 1.5 m/s. If the right button is pushed, it moves backward.
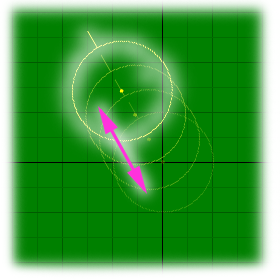
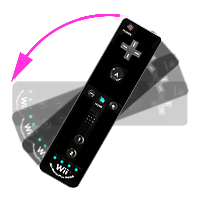
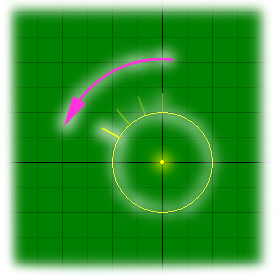
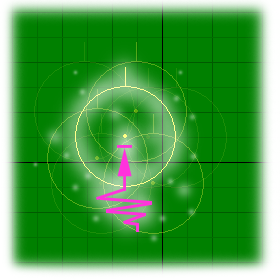
If Wii® Remote Plus Controller™ rotates, the Trainee in the training field rotates as same direction and angle as the rotation of Wii® Remote Plus Controller™. When the Stable operation mode is available, only the left-right rotation (horizontal head shake) is available, and the up-down rotation (vertical head shake or cocking) is ignored.
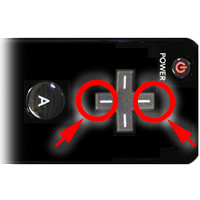
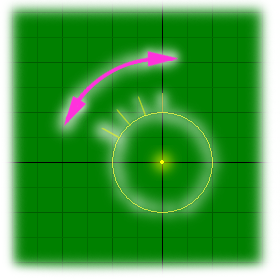
The Cross button on Wii® Remote Plus Controller™ also can be used to rotate. If the Up or Down button (i.e. the right or left button for head) is pushed, the Trainee in the training field rotates to the right or left at a angular velocity of 60 deg/s.
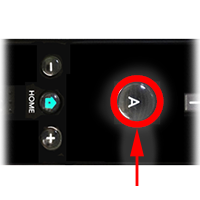
If the A button on Wii® Remote Plus Controller™ is pushed, the Trainee in the training field stands still. It is useful when the motion of the Trainee in the training field is unstable (e.g. moving without operation).
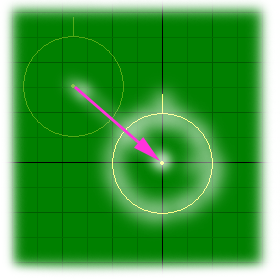
If the Home button on Wii® Remote Plus Controller™ is pushed, the Trainee in the training field returns to the initial position (i.e. the origin of the training field).
* If you operate Home, Wii® Remote Plus Controller™ is re-calibrated, and the actual position of the trainee at a moment of the operation is regarded as the new initial position (i.e. the origin of the training field).
 Copyright © 2013 Planex & Toshiba.
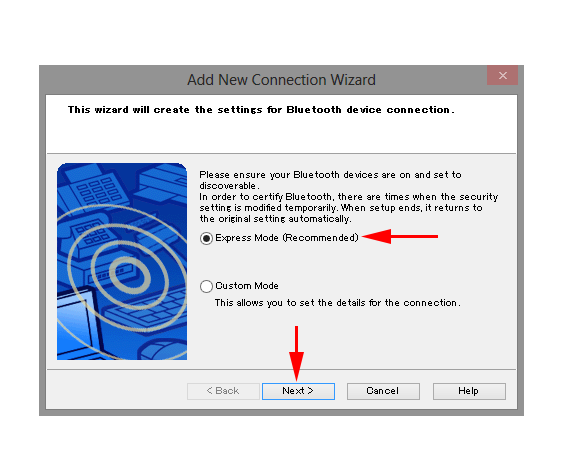 Copyright © 2013 Planex & Toshiba.
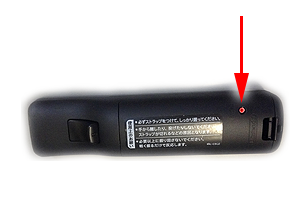
 Copyright © 2013 Planex & Toshiba.
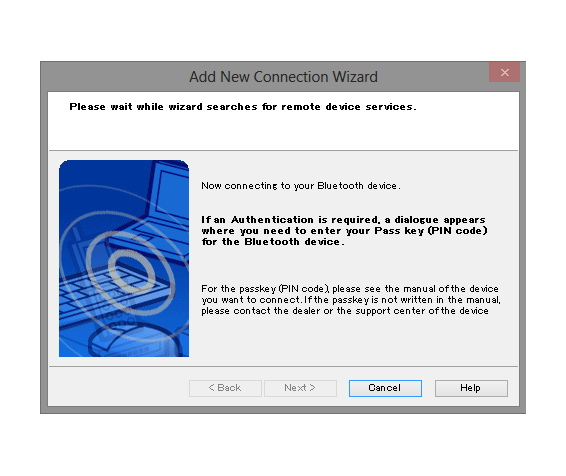 Copyright © 2013 Planex & Toshiba.
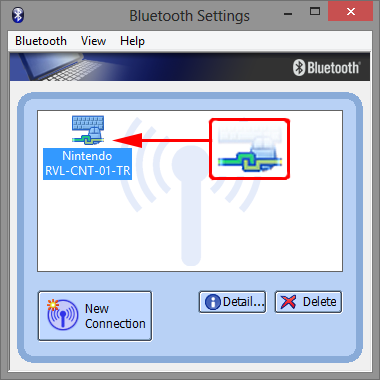 Copyright © 2013 Planex & Toshiba.
 Copyright © 2013 Planex & Toshiba.
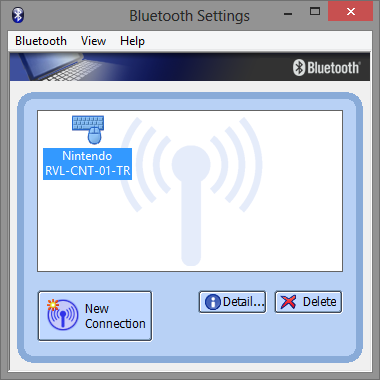 Copyright © 2013 Planex & Toshiba.
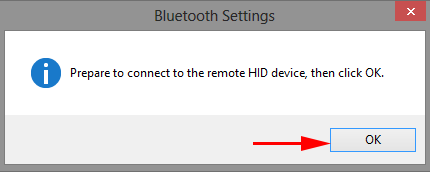 Copyright © 2013 Planex & Toshiba.